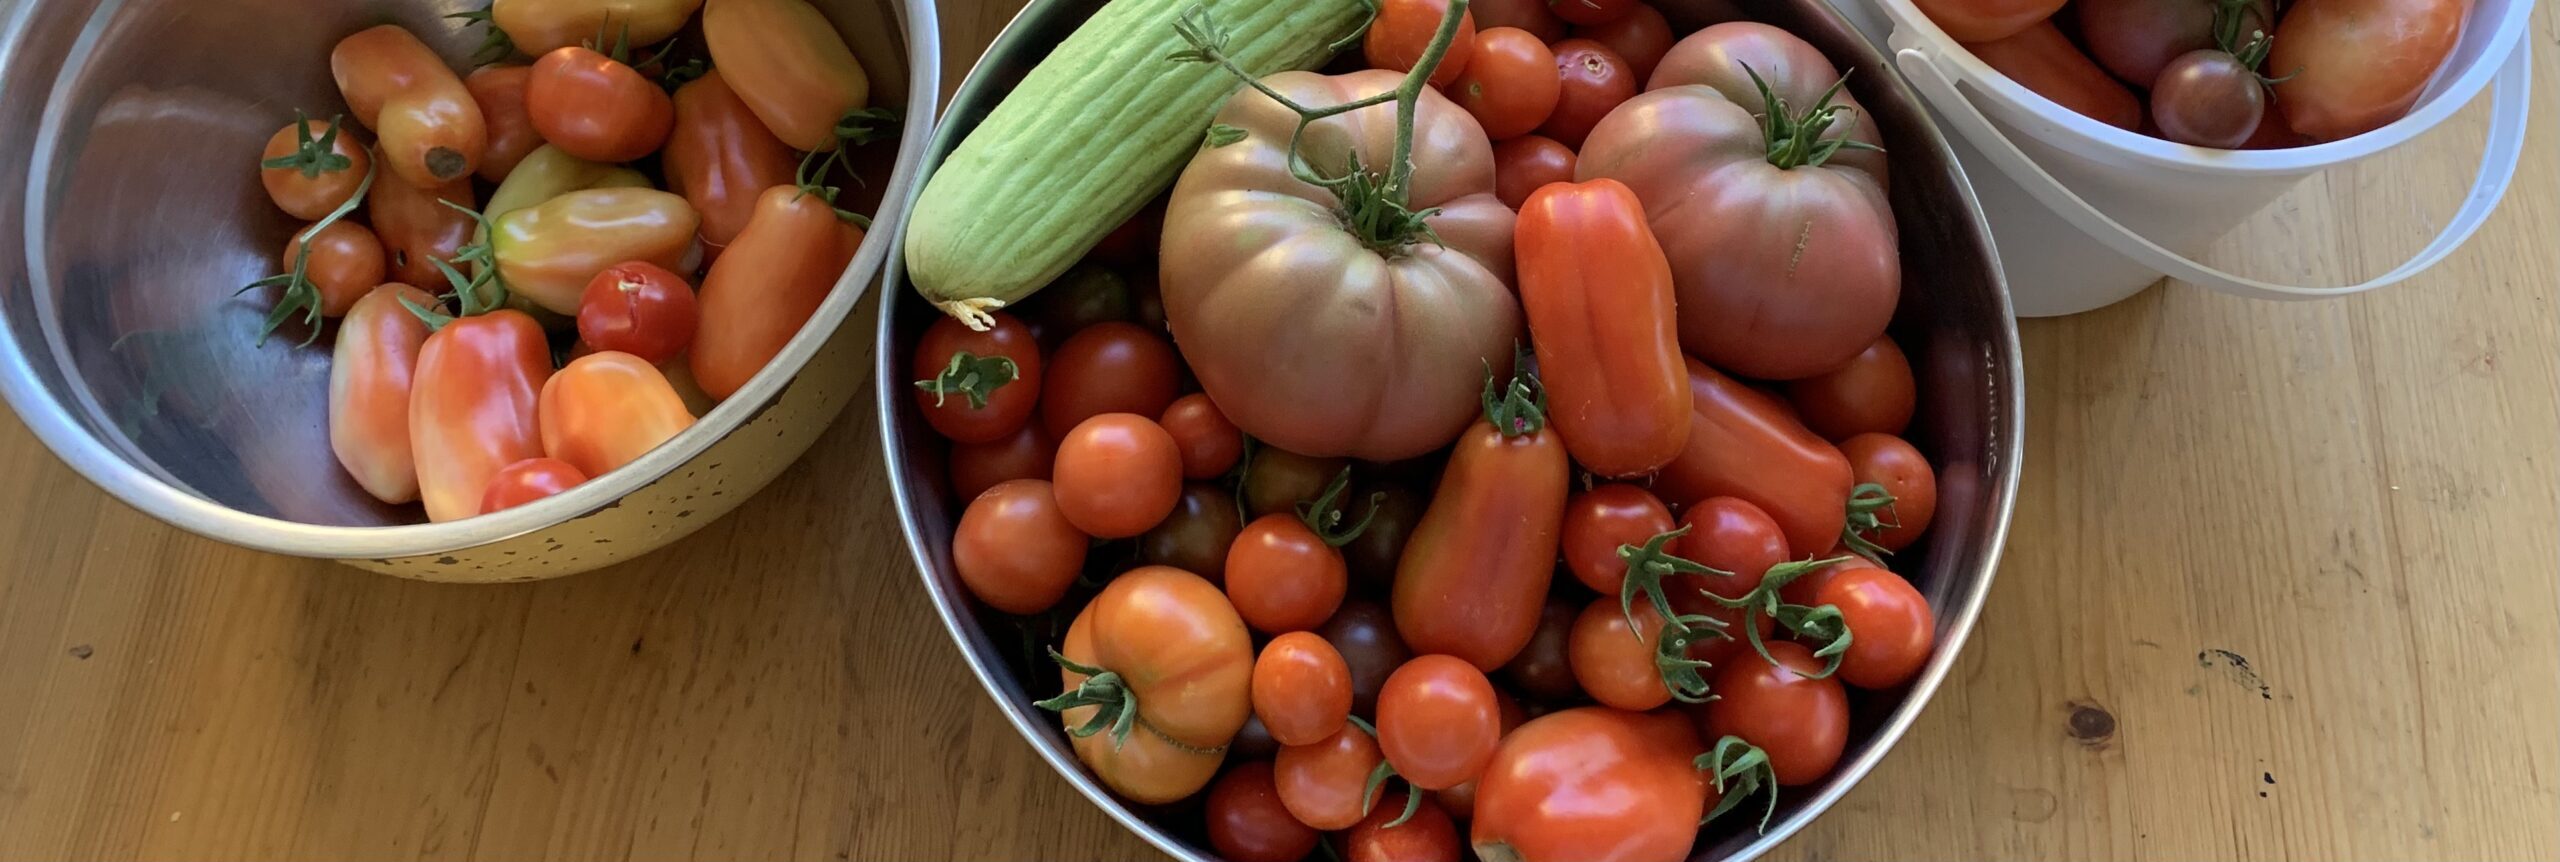
To a novice gardener, fertilizing can seem like a daunting and intimidating task. The shelves of big box home improvement stores and small garden supply shops alike are typically brimming with an overwhelming selection of different fertilizers and plant foods. This can easily lead to a “paradox of choice” induced anxiety attack in someone just hoping to get a few good tomatoes out of their backyard veggie garden. It can feel like you need a degree in soil science to sort through it all. Luckily, this is not the case.
I don’t consider myself particularly smart and my likely adult ADHD addled, typically sleep deprived, brain currently has an attention span that makes a goldfish seem focused. If developing a fertilization routine required an analytical, mathematical approach, I wouldn’t do it. Remember, humans have been successfully growing food since before anyone even knew what nitrogen was. A great deal of fertilization is intuitive.
What follows is simple approach to feeding a veggie garden that has worked great for me over the last few seasons. Keep in mind that while these methods work great for my garden in my climate, every garden is its own unique ecosystem with its own unique needs.
The basics of plant nutrient requirements
Soil science is complex and to be honest, the intricacies are way out of my wheelhouse. The basics are that for plants to be healthy, they need a balance of usable forms of nitrogen, phosphorus, and potassium.
Nitrogen promotes lush, healthy, foliage.
Phosphorus promotes flowering (the precursor to fruit), stem strength, and root strength.
Potassium promotes healthy root and fruit development.
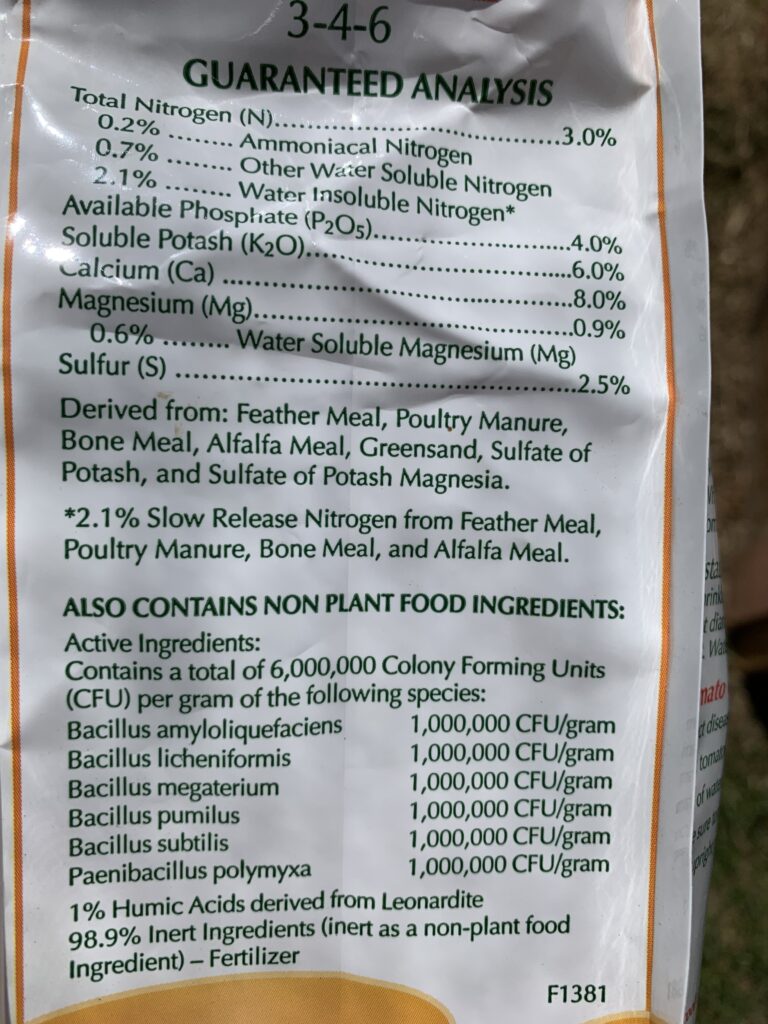
The ratio of nitrogen, phosphorus, and potassium in a medium is known ask the N-P-K number and will be shown on commercially available fertilizers as in the image below. N-P-K is, of course each nutrient’s (element’s) symbol on the periodic table.
As an example, here is the N-P-K number on a bag of general purpose organic fertilizer:
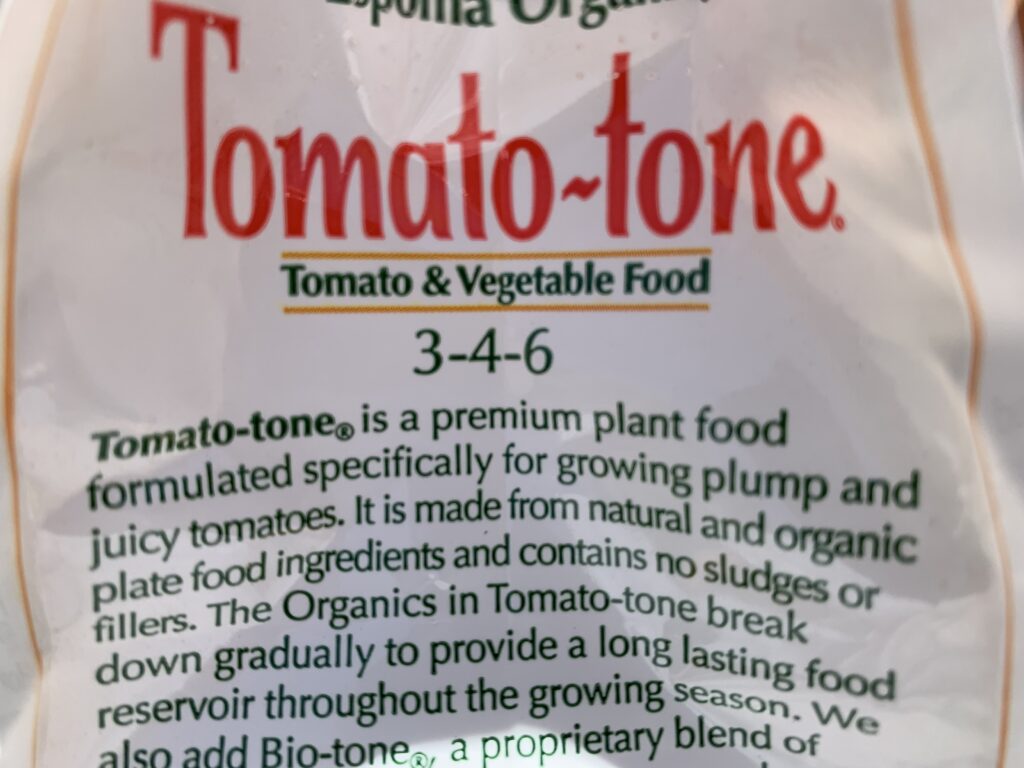
The numbers 3-4-6 indicate that by mass, 3% of the product is nitrogen, 4% is phosphorus, and 6% is potassium. The remaining 87% is inert filler material.
A myriad micronutrients such as calcium and magnesium are also crucial to plant health but are needed in much smaller quantities. Most properly amended garden soils will have more than enough micronutrients but they can be added via fertilizers if needed.
Sources of nutrients
Nutrients can be added to soil in a number of ways. These include:
- Finished (fully decomposed) compost.
- Worm castings (aka. worm poop) which is often an integral part of compost and an excellent source of available nitrogen and phosphorus.
- Organic fertilizers such as fish emulsion, blood meal, bone meal, and any number of commercial mixes.
- Synthetic fertilizers which are typically blue crystals that are diluted IN water to create a soil drench. These often have tremendously high N-P-K numbers such as 30-30-30.
I do my best to avoid synthetic fertilizers. I don’t consider them inherently evil, but they are less forgiving than organic options. Making a mistake during the dilution process can cause plants to “burn” which is damage done to plants via fertilizer overdose. Additionally, the high NPK numbers on synthetic fertilizers can be somewhat misleading. While a bag can be 30 percent nitrogen, it doesn’t necessarily mean all 30 percent is a form of nitrogen readily available to the plant. A megadose of nitrogen can also cause a plant to allocate all of its energy to foliage development at the expense of flowers and fruit. This is great for lettuce, spinach, and other greens, but not so much for tomatoes, squash, and peppers.
While I greatly prefer to fertilize via homemade compost, fish emulsions, and other organic options, if I see that my garden needs a quick influx of a particular nutrient and know that the best way to quickly get said nutrient into the plant is a synthetic, I won’t hesitate. After all, I am working with small garden space and the loss of a plant or two due to nutrient deficiency can mean a drastic drop in overall yield.
With my grade school level explanation of plant nutrient needs out of the way, I can detail the fertilization approach that’s working for me so far during the spring/summer gardening season of 2023.
Before planting
After our winter crops of broccoli and greens had given up the ghost in late February and early March, I took advantage of the empty gardens to bury unfinished (green) and partially finished compost in the raised beds. This organic matter consisted of the mulched remains of our winter crops, grass clippings, the chicken poop laden alfalfa hay from a winter’s worth of coop cleanings, and various kitchen scraps. Over the next 1-2 months, worms, bacteria, and other soil organisms would decompose this material into usable nutrients.
It is important to note that I only added compostable material I knew would break down quickly and finish before the spring planting in mid-April. This meant avoiding any woody materials or anything else I know takes substantial time to break down, such as leaf litter or cardboard. Mulching the green compost with a mower facilitated faster decomposition.
Amending garden soil with organic matter does more than just provide vital nutrients. It also conditions soil to make it a better grow medium by improving moisture retention and reducing compaction. All the commercial fertilizers in the world can’t make up for a lack of good organic matter.
At planting
When weather conditions were finally warm enough to transplant my started plants to the garden, I first prepared a wheelbarrow full of a blend of home made vermicompost (worm casting laden finished compost) and powdered egg shells. I used this mixture to backfill around my plant starts during planting.
The vermicompost was easy to make over our mild Sacramento winter as it was just a matter of adding red wiggler worms to our outdoor compost bin. It’s amazing how fast a large population of worms can tear through a steady supply of kitchen scraps and chicken coop waste. The end product was a nutrient rich, “black gold” compost that honestly can’t be beat as a plant food.
Over the winter, I had also been making powdered eggshell as a way to recycle the shells from the 12 to 15 weekly eggs produced by our three hens. The process consisted of baking the shells at 350 degrees until brittle and then grinding them into a powder via a coffee grinder. Why not just toss the roughly crushed shells in the compost bin? It turns out eggshells take a tremendously long time to break down into a form calcium available for uptake by plants. Powdering the shells reduces time to availability.
It should be noted that while adding calcium to soil is a good thing, doing so won’t necessarily prevent the dreaded blossom end rot that can plague tomatoes and peppers. Though blossom end rot is due a calcium deficiency in the plant, it is often the result of a plant’s inability to uptake calcium, not a shortage of calcium in the soil. Typically, these calcium uptake issues are brought on by heat and water stress. A plant allowed to wilt repeatedly is very likely to fall victim to end rot.
After Planting
In the month following the transplant of my starts into the gardens, I applied a general purpose fertilizer via soil drench every two weeks. A soil drench is fertilizer that has been dissolved in water for a faster uptake of nutrients than a slow release fertilizer mixed into or broadcast onto the soil.
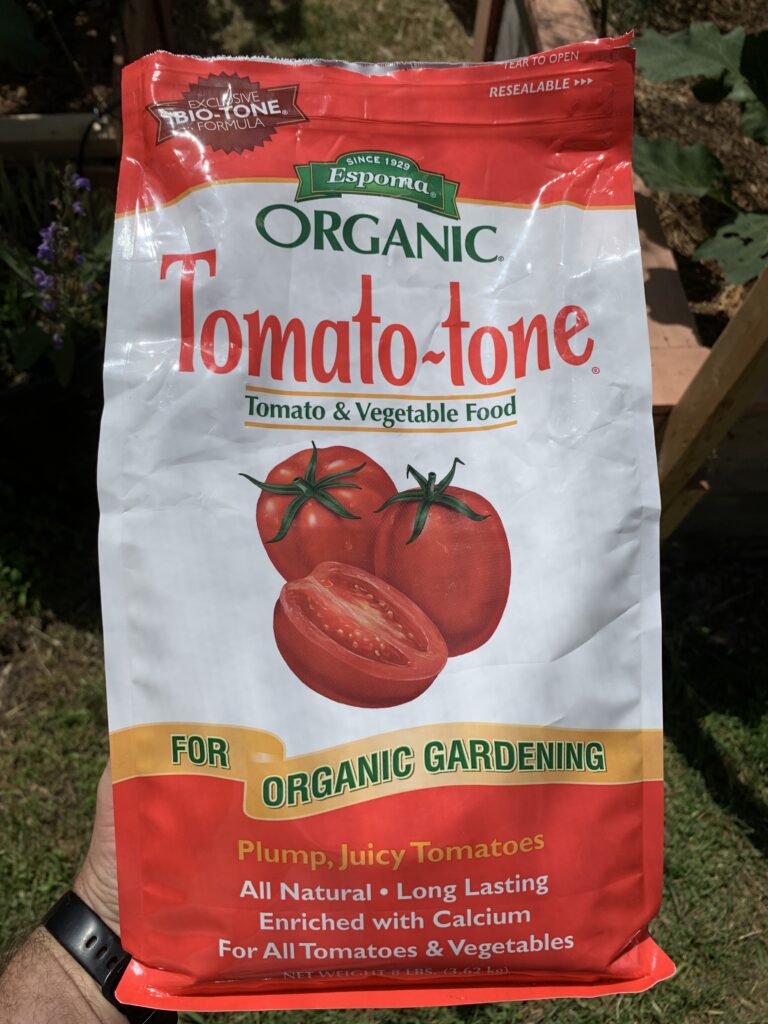
The two products I used throughout the spring were a fish emulsion diluted at a rate of two tablespoons of concentrate per gallon of water and a “tea” prepared by dissolving 1 cup of Espoma Tomato-Tone per 5 gallons of water. Fish emulsion is, for lack of a more pleasant way of putting it, a brown, smelly slop made from decomposed fish (and often bat/bird guano) that is an excellent source of nitrogen and phosphorus.
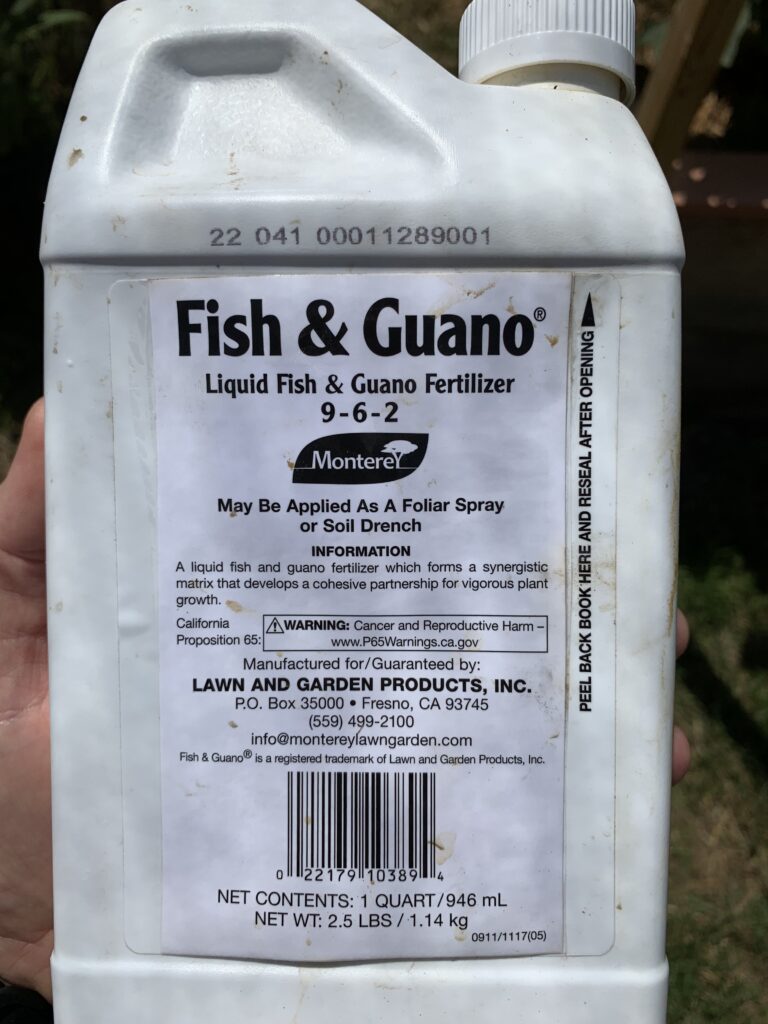
The only downside to fish emulsion is the cost. The bottle pictured above cost $14 and contained just enough product for two feedings of my garden.
A somewhat more economical alternative was the Tomato-Tone which currently retails for about $14 per 8-pound bag. That amount was sufficient to make enough fertilizer tea to feed all 400 square feet of garden space approximately four times.
As our water source is chlorinated city water, I allow 5 gallon buckets to sit for 24 hours before mixing in the fertilizer. This allows the chlorine to gas off, which is important as most fertilizers rely at least in part on the activity of beneficial bacteria to be effective. Chlorine, of course, kills bacteria regardless of whether they are harmful or beneficial.
Once the soil drench is ready, I apply approximately one gallon of the solution to each plant.
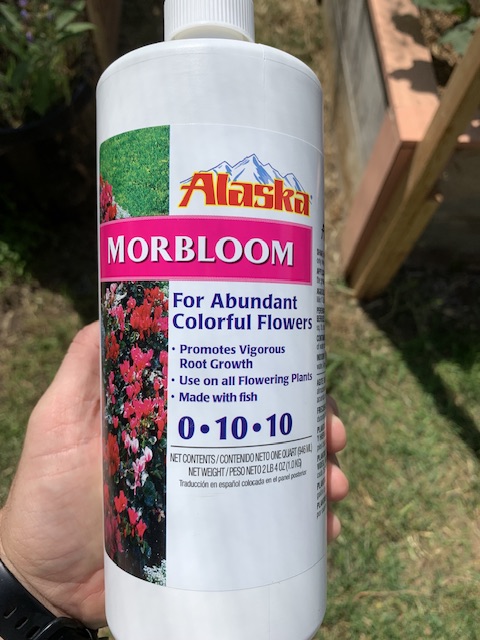
By early June, I noticed the foliage on all of my plants was exceptionally lush and vibrant. I took this a sign it was time to back way off on nitrogen fertilizers and focus on adding phosphorus and potassium. For plants that need to both flower and fruit, I applied a soil drench made from Alaska Morbloom liquid fertilizer diluted at a rate of 2 tablespoons to a gallon of water. This fertilizer lacks nitrogen, but has high P and K numbers and should give a boost to blossoming and fruiting.
For crops that don’t need to flower (such as potatoes and sweet potatoes), I applied a drench made by diluting two tablespoons of soluble sulfate of potash for every gallon of water. Potash is a substance derived from wood ash and is a usable source of almost pure potassium. Potatoes and sweet potatoes both greatly benefit from potassium boosts for the development of large healthy tubers.
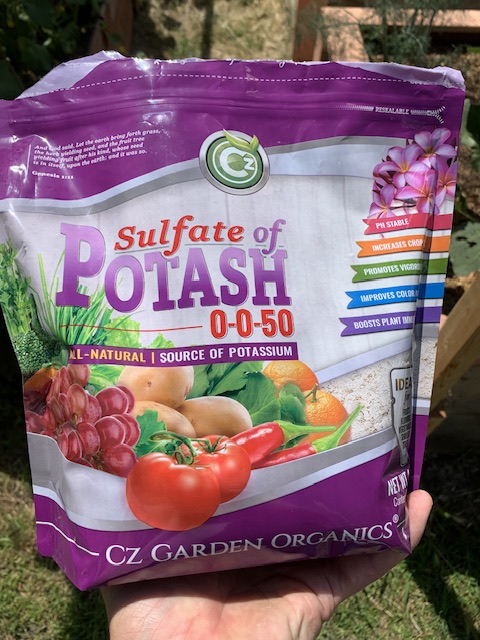
As the season progresses and my plants are past the blossoming phase, I will cut out all but potassium, fertilizers as I will want to ensure the development of the best possible fruits.
So far, my fertilizer regimen is working. Just about every plant in my garden is deep green, strong, and vibrant. The true effectiveness of my methods will of course be evident in the harvest. Check back in a few months to see how it all works out.
