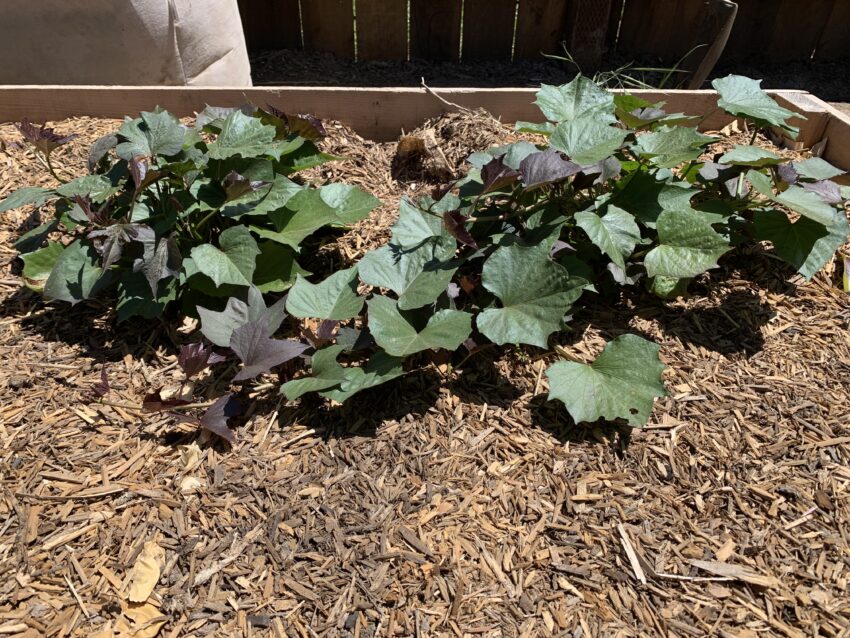
Originating from the tropical regions of the Americas, the sweet potato is an excellent hot weather crop for novice and experienced gardeners alike. Once a propagated sprout (called a slip) has been planted, the gardener’s work is largely done. Given adequate water and even marginally fertile soil a dense tangle of sweet potato vines will soon fill whatever garden bed or container in which they’ve been established. As a bonus, sweet potatoes are one of the easiest and most inexpensive vegetables to establish. Here’s how:
1 . Buy sweet potatoes
It might sounds counterintuitive, but the best way to start a bunch of sweet potatoes is to buy a few sweet potatoes. These can be ordered from a seed supplier or purchased from a local greenhouse (if they happen to have them stock) but sweet potatoes from the organic section of the nearest grocery store will work perfectly as well.
Do they have to be organic? Yes. The reason is many commercial growers treat their potatoes (both sweet and white) with growth inhibitors intended to slow or prevent sprouting, thereby increasing shelf life. Since we want our sweet potatoes to sprout, we want the (hopefully) untreated option from the organic bins.
2. Gather and sterilize materials
To reduce the chances of your sweet potatoes turning into a fungal nightmare, it is advisable to sterilize absolutely everything before proceeding. Here’s what you’ll need for this step:
- Plastic containers of sufficient area and depth to half submerge the sweet potato tuber in potting soil. Small storage totes or large food containers work well for this purpose.
- Potting soil (it doesn’t matter what kind).
- 3% hydrogen peroxide solution
Sterilize the containers with a bleach solution, alcohol, or hydrogen peroxide and allow to dry. Sterilize the sweet potato tubers themselves with a solution of 1 part 3% hydrogen peroxide and 1 part clean water. This can be done by allowing them to soak for a minute or two in the solution before giving them a rinse in clean water.
The potting soil should be sterilized by baking in an oven at a low heat, 250-300 degrees Fahrenheit until evenly heated through. Disposable aluminum baking pans are good for the task.
The above measures should kill enough mold spores and other microbial nasties to allow the tubers time to sprout before turning into something akin to a science experiment gone awry. Microbes are awesome in the garden itself, but not so much indoors under the grow lights.
2. Half bury the sweet potatoes
An arguably outdated method getting a sweet potato to sprout slips involves using toothpicks to half suspend the sweet potato in a jar of water. This might work, or the tuber could rot away before slips have a chance to form.
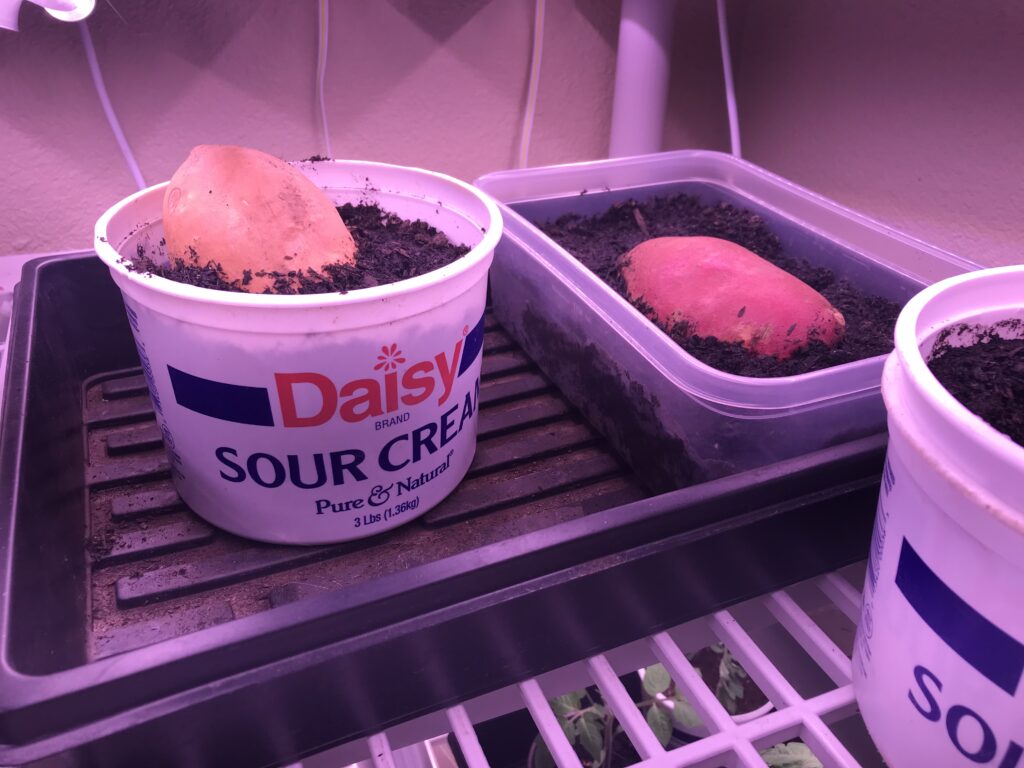
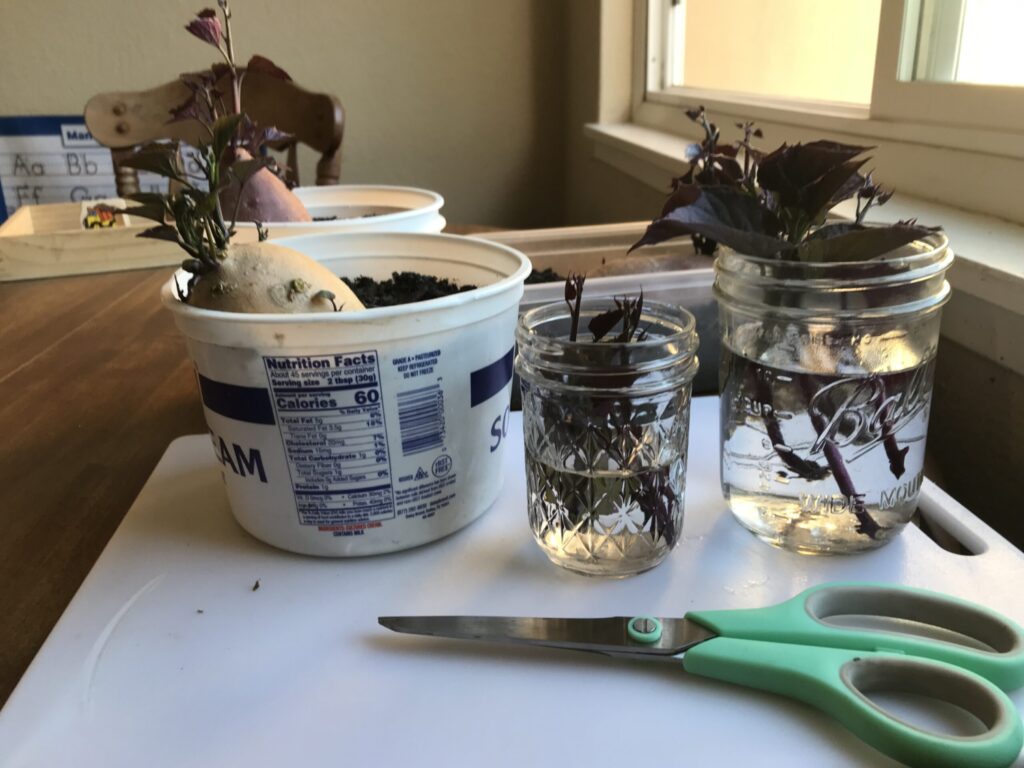
A more effective method is to take a container of sufficient size and depth, fill it with good, sterile potting soil, and bury about half of your sweet potato. The tuber can lie horizontal or vertical as pictured below.
3. Wait about a month
Your sweet potatoes are now in maintenance mode. Keep the soil damp but not soaked and keep the tray under grow lights or on a sunny window sill. Warmth is crucial during this phase and temperatures in the immediate vicinity of the containers should stay is upper 80s to low 90s Fahrenheit.
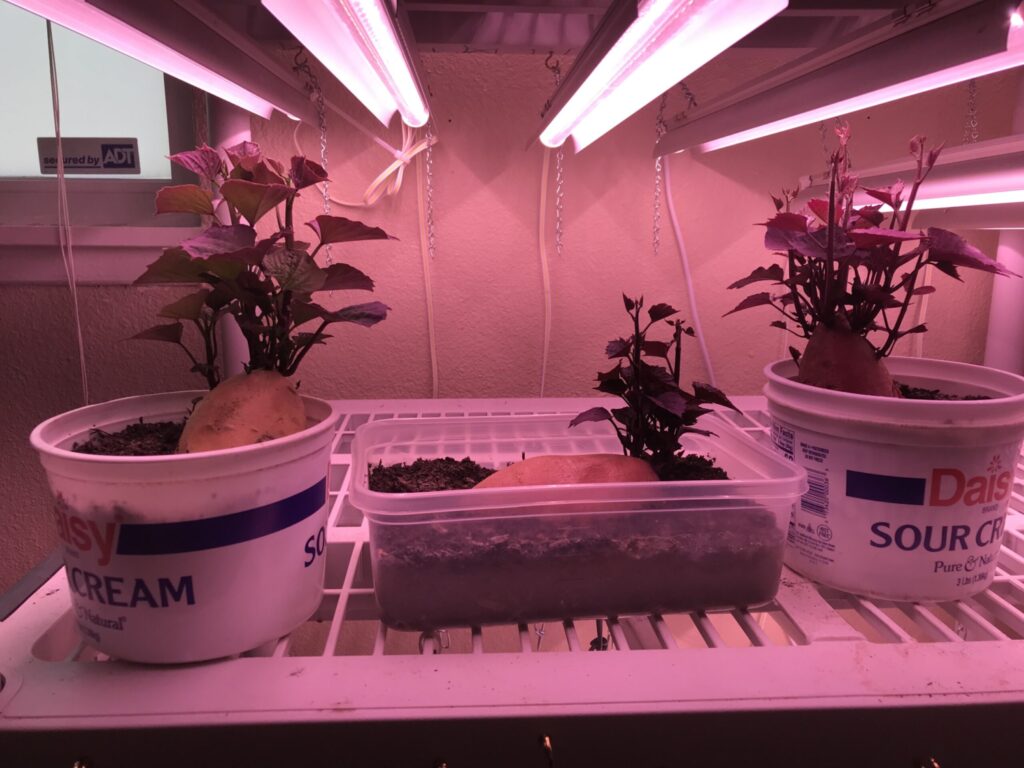
After a few weeks, small purples bumps will become visible on the skins of the sweet potatoes. These bumps will then grow into leafy shoots. These are your slips.
4. Propagate the slips
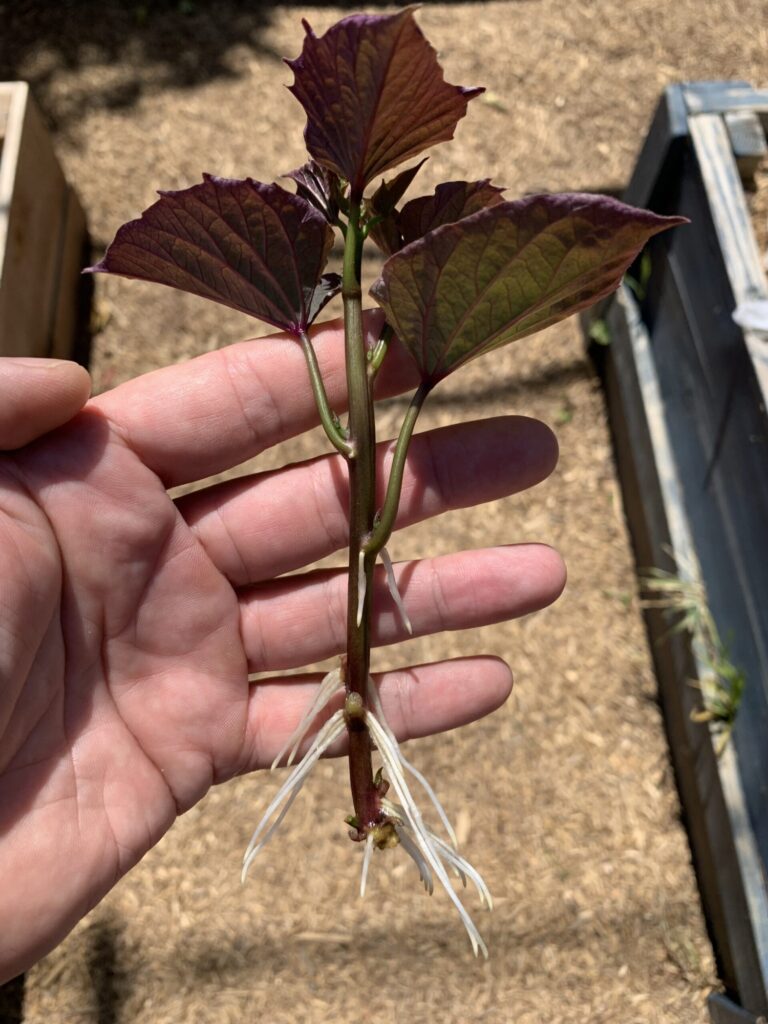
Once the slips are at least 4-inches in length, carefully clip them from the tuber using sterilized scissors. Place the slips in a jar of water for about a week or so until substantial roots have formed along the stem as pictured below.
5. Plant the rooted slips
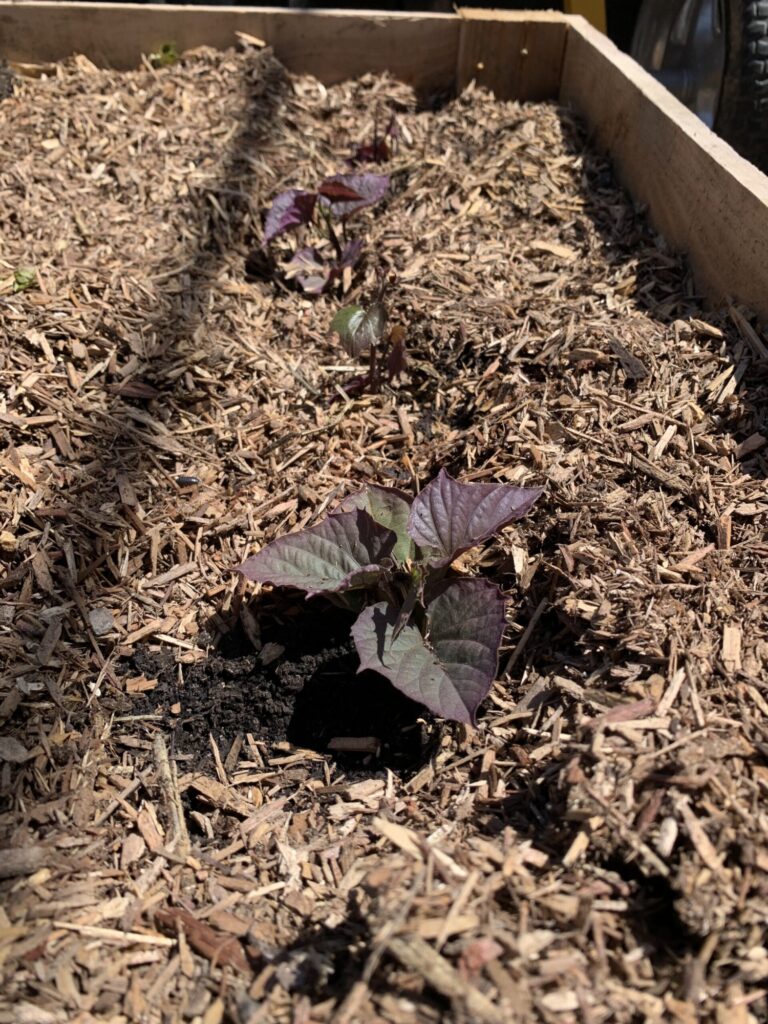
All that’s left to do now is plant the slips in the garden. To do this, simply make holes deep enough to accommodate the roots, cover, and water. It’s important to plant sweet potatoes in a spot that will receive full sunlight for most of the day.
Cultivation notes
Known for being a poor soil crop, sweet potatoes don’t require a great deal of coddling. Keep them watered. That’s about it. The vines will soon multiply to form a thick, tangled ground cover that can become a bit of a space hogging nuisance if left unchecked. Luckily, sweet potato leaves are a delicious green that can be continuously harvested throughout the growing season.
Sweet potatoes require a tremendously long (120+ day), hot, and preferably humid growing season to develop large tubers. To accommodate this long growing season, I like to start the slip cultivation in February or March so I can plant them outdoors as soon as temperatures are sufficiently warm (typically late April or early May here in the Sacramento Valley).
My experience growing sweet potatoes in our hot, dry, climate is that tuber production can be hit or miss, but the greens coupled with the plant’s minimal care requirements make them a worthwhile addition to the garden.
