I have had typically mediocre results growing potatoes in the Sacramento Valley. This is due to the temperature sensitivity of the potato plant (both frost and sustained temps over 90 degrees Fahrenheit will stunt or kill them) the length of time it takes reasonably large tubers to form (90-100 days) and the often brief period of time between frost danger and extreme heat in the region. Potatoes planted in October after the worst of the summer heat has subsided will likely have to contend with frost some time in November or December and potatoes planted in mid-March after the chance of frost has diminished could easily encounter triple digit temperature by late May or Early June. As a result, potato plants often die before they have time to produce tubers that are much larger than golf balls.
In spite of my region’s the climatic challenges, I always make room for potatoes in both my fall/winter and spring/summer gardens. From a self sufficiency standpoint, potatoes are a great way to grow a lot of calories in a small space. At approximately 350 calories per pound, a few containers or small garden beds can easily yield enough tubers to offset a family’s caloric needs for a week or two. Additionally, potatoes are just plain fun to grow and and harvest. Since the edible tubers develop underground, the gardener has no way to tell what kind of harvest to expect until digging into the hill or dumping out the container. You can watch a tomato grow and ripen, but potatoes will always be a surprise. Potato harvests are treasure hunts in and of themselves.
Growing Potatoes: The Basic
1. Obtain “seed” potatoes
While it is possible to grow potatoes from actual potato seeds (an experiment I will be conducting in the near future) potatoes are typically cultivated from tubers that have begun “chit” or sprout from the eyes as pictured below. These sprouted potatoes are referred to as seed potatoes.
Seed potatoes can be ordered from most seed suppliers, though availability is often dependent upon the season. Alternatively, grocery store potatoes can be turned into seed potatoes. If gowing the grocery store route, it is important to buy organic as these will probably not have been sprayed with growth inhibitors meant to stunt the development of eyes. Eye development might not be desirable when trying to sell potatoes, but it is when trying to grow them.
2. Chit the seed potatoes
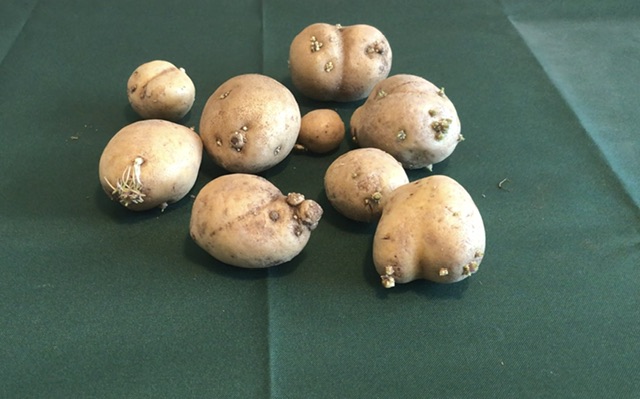
The easiest way, in my opinion, to chit potatoes is to set them somewhere and forget about them for a month or so. As anyone who has forgotten a stray potato in the pantry only to discover it wrinkled and sprouting some time later can affirm, this step doesn’t take much (or any) skill. Keeping the potatoes exposed to light will help them chit faster and keeping them moist (but not so damp they rot) will keep them from shriveling up before they have a chance to sprout. Some gardeners recommend using egg cartons to space the seed potatoes during chitting, but I’ve had them sprout after being forgotten about in a paper or mesh bag as well.
It’s worth noting that chitting is an arguably optional step as planting an un-sprouted potato or portion thereof, will also likely result in the growth of a potato plant. It will, however, take longer for an unchitted potato to emerge from the soil.
3. Portion the seed potatoes (optional)
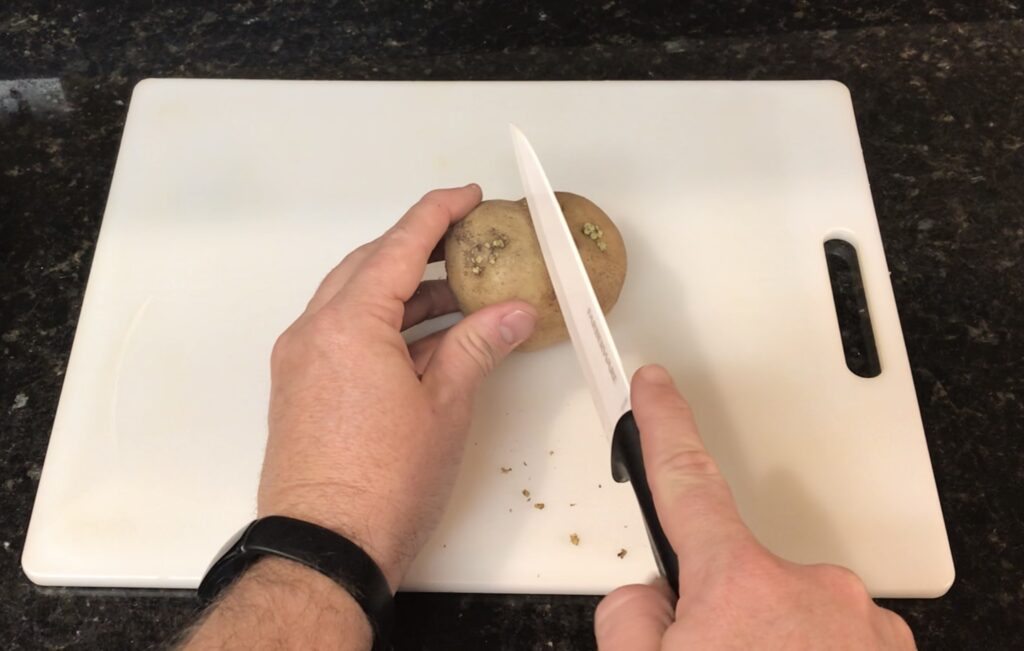
While a whole seed potato can be planted as is, cutting them into chunks will mean more plants per seed potato. Conventional potato wisdom is that fewer sprouts per planted potato portion typically yields fewer but larger tubers per plant. When I portion seed potatoes I try to create chunks that each have 2-4 sprouts.
Seed potatoes that have been cut into portions should be allowed to air dry for 2-3 days before planting. This will allow all surfaces to crust over making the portions less prone to rotting.
4. Plant the seed potatoes
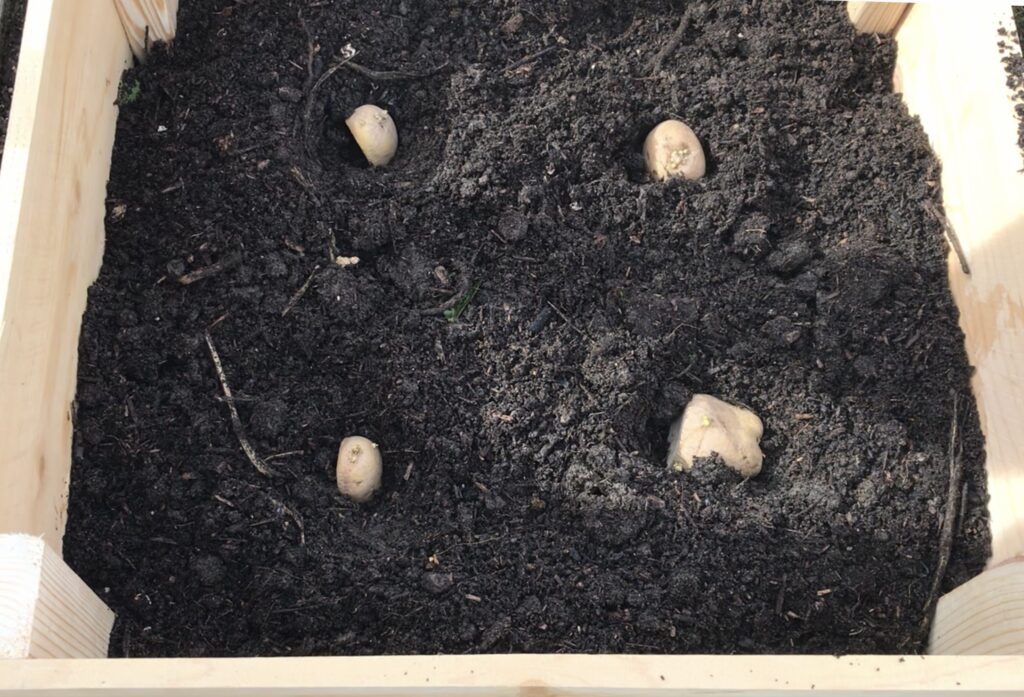
While potatoes can, of course, be planted in raised or in-ground beds, I prefer to plant them in large pots or containers. This is for two reasons. First, it is nearly impossible to retrieve every stray potato from a garden during harvest. The stray potatoes will then sprout and you will forever be fighting volunteer potato plants. Second, containers make harvest far easier. Rather than having to dig through mounds with a fork, containers can simply be dumped into a wheelbarrow or onto a tarp and the potatoes picked or sifted out of the soil. Any container/planter with a surface area of at least 12”x12” and a depth of at least 10” will work for the purpose.
Planting depth and spacing of the seed potatoes will vary depending on the specific potato variety being planted. Most varieties call for seed potatoes to planted to a depth of 4-6” and spaced 10-15” apart. I have had plenty of success crowding them a bit more with a 5-6” spacing between seed potatoes as long as the soil sufficiently rich with nutrients.
It is important to leave 4” or more of space between the surface of the soil and the rim of the container in order to accommodate a thick layer of mulch as the plant grows. Mulch is important as it prevents sunlight from reaching the developing tubers. Exposure to sunlight can lead to green potatoes. Green potatoes indicate high concentration of the toxin solanine and are unsafe to eat. It is worth pointing out that the only edible part of a potato plant is the tuber. All other parts of the plant contain unsafe concentrations of solanine with the greatest concentrations being found in the fruits.
Add the mulch layer gradually as the plant grows making sure at least some foliage is poking above the surface. Cover the tubers but don’t smother the plant.
Potatoes are heavy feeders and should be planted in soil rich in organic matter (compost, worm castings, loam etc.).
5. Feed, water, and monitor
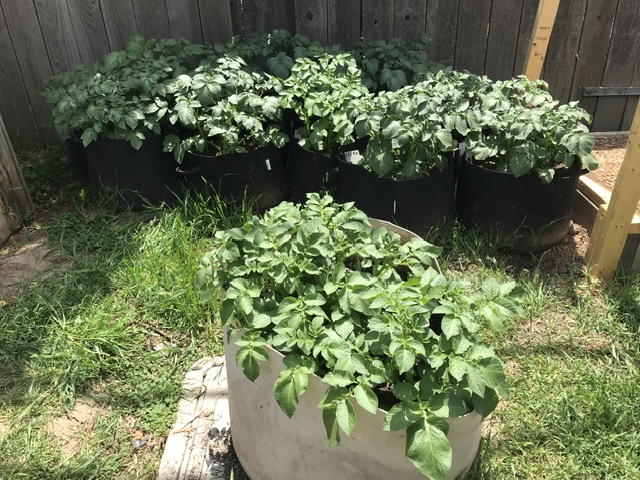
With the seed potatoes in the ground, there’s not much left to do other than wait. Make sure the soil stays moist but not overly wet. If planting in containers or grow bags, fertilization might be necessary. A nitrogen rich fertilizer is a good idea during the early stages of growth in order to establish healthy foliage, but it is ultimately potassium that makes large tubers. Once the potato plants are well established, I like to switch to a potassium rich fertilizer such as a soil drench made from sulfate of potash aka. Potassium sulfate.
If planting potatoes overwinter in a milder climate, be sure to keep an eye on the weather forecast for any chance of frost. Potatoes are a cool weather crop, but they are not frost tolerant. If the forecast predicts frost, be sure to cover the potatoes with a frost cover.
6. Harvest
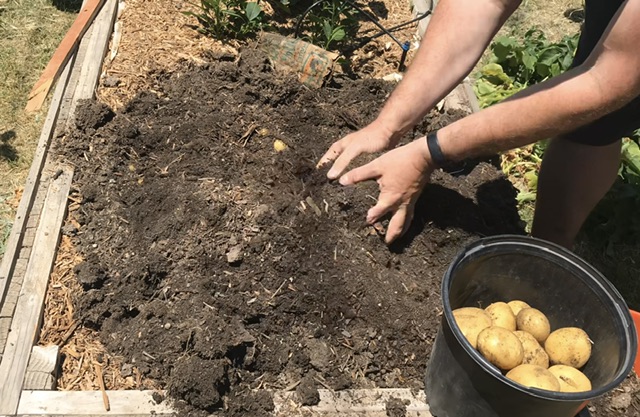
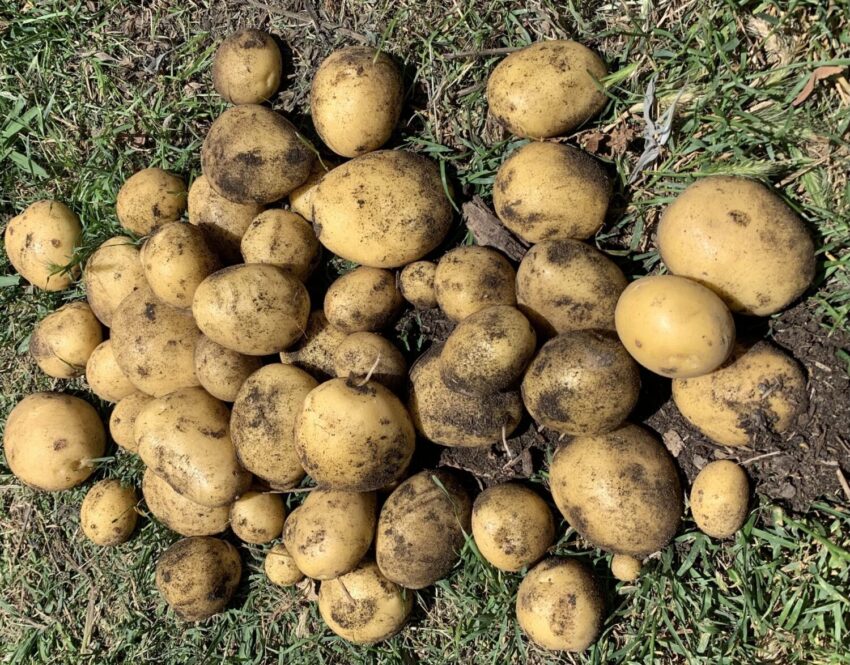
Now for the fun part. Depending upon variety, potatoes will be ready to harvest within 60 to 110 days of planting. Conventional wisdom is that when the vines begin to yellow and die, it’s time to harvest.
Harvesting from container, pots, or grow bags is a simple matter of dumping them over and sifting or picking the potatoes out of the soil. Potatoes planted in-ground are typically harvested with a potato fork.
Potatoes that are not eaten immediately should be kept in a cool, dark, somewhat humid place to cure for extended storage. Do not wash potatoes until immediately before cooking as scrubbing away the dirt is likely to compromise the skin and reduce shelf life.
Any green potatoes should be discarded or allowed to sprout for the next round of planting. Never eat a green potato. It will make you very sick.
Tips for growing potatoes in hot climates
Pick a fast yield variety such as the Yukon Gold. Some potato varieties can yield decent tubers in as little as 70 days. These are ideal for sneaking in during the relatively short periods of time when neither extreme heat nor frost are a concern.
Be happy with “boiler” potatoes. While every gardener dreams of growing football sized Russets, sometimes this is just not to be. Small, grape to golf ball, sized potatoes are tender and flavorful and can typically be cooked and eaten without tedious prep work (peeling and slicing).
Ditch the grow bags for hard containers. Grow bags are an attractive container option for gardeners on a budget, but but they do have their drawbacks. In hot, dry climates, soil in grow bags tends to dry out quickly, even when temperatures aren’t extreme. Plants that continually dry out are stressed plants, and stressed plants produce fewer tubers. I have even noticed that my overwinter potatoes (for which drying out isn’t an issue) do better in solid containers than in grow bags.
