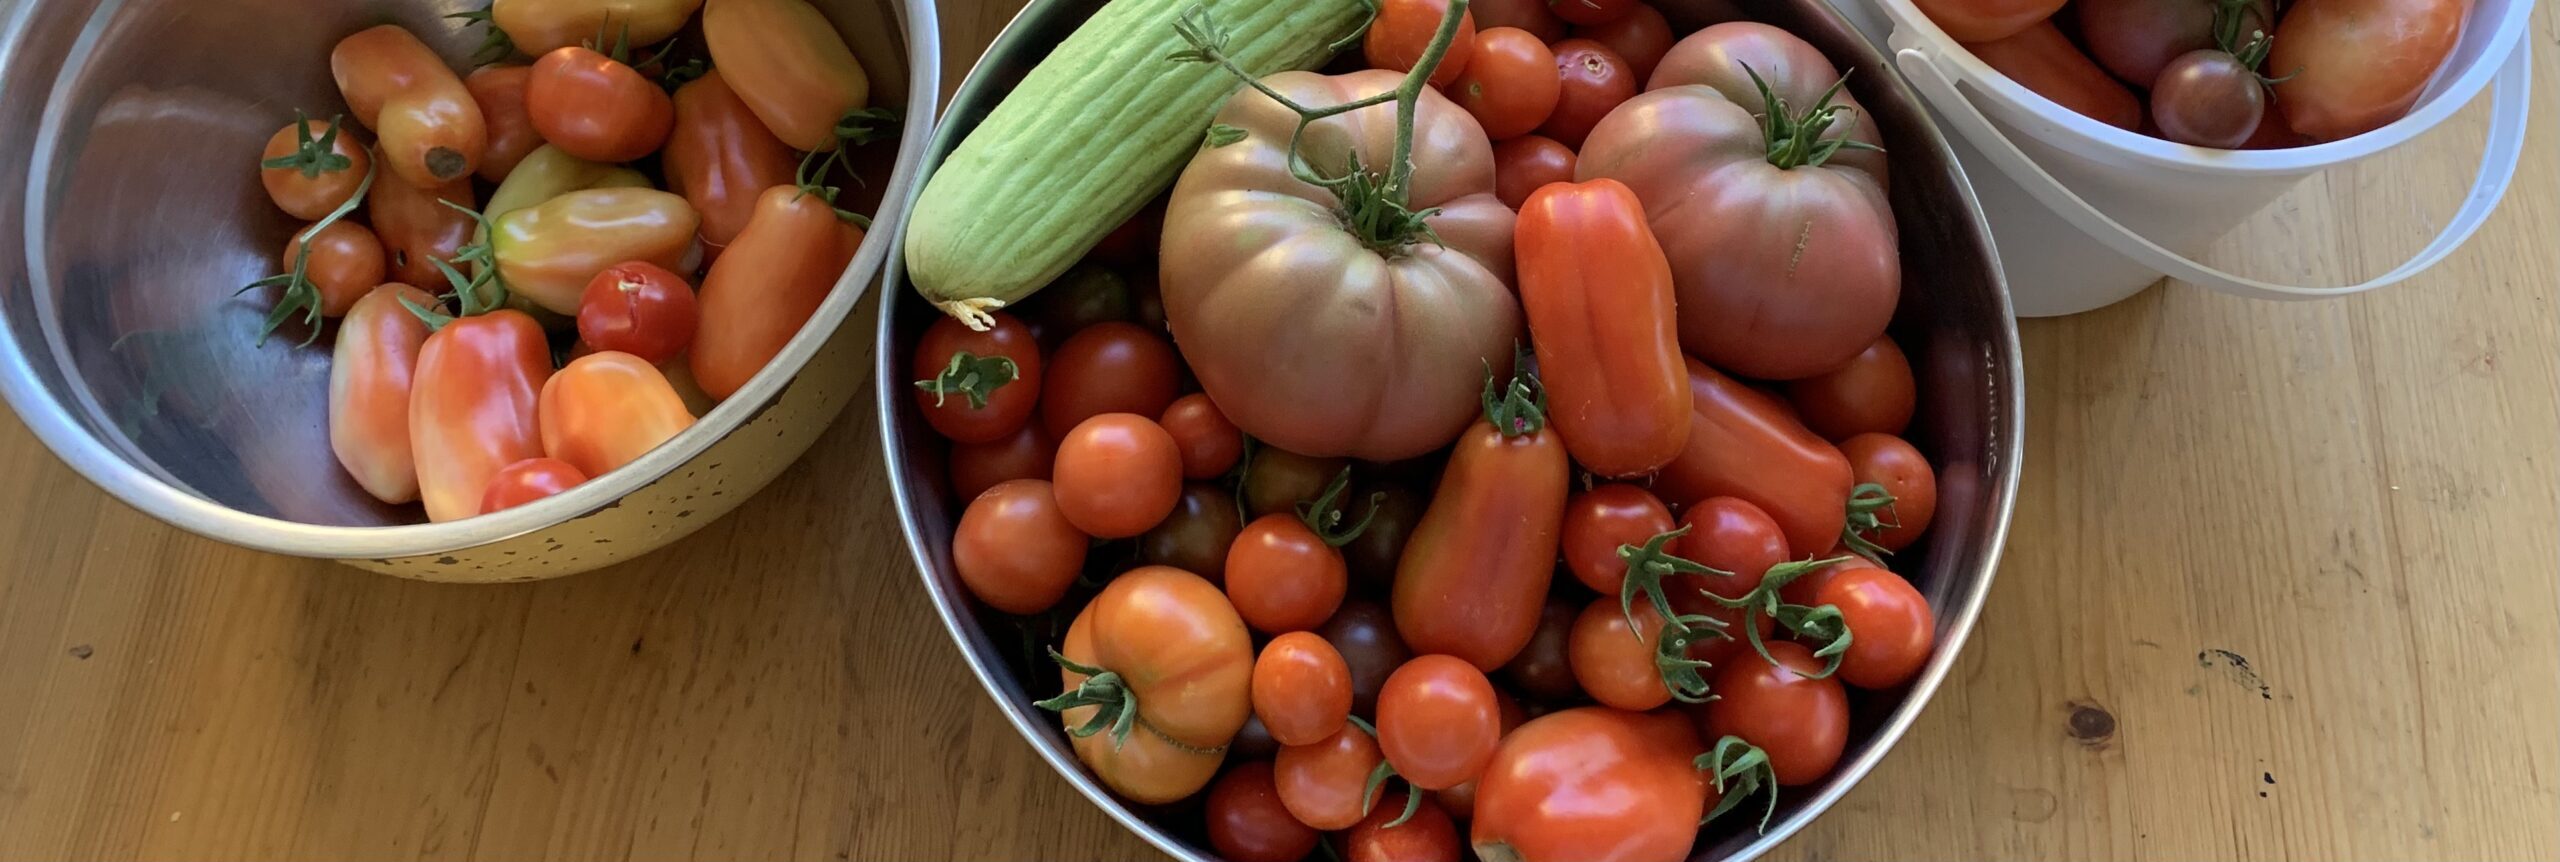
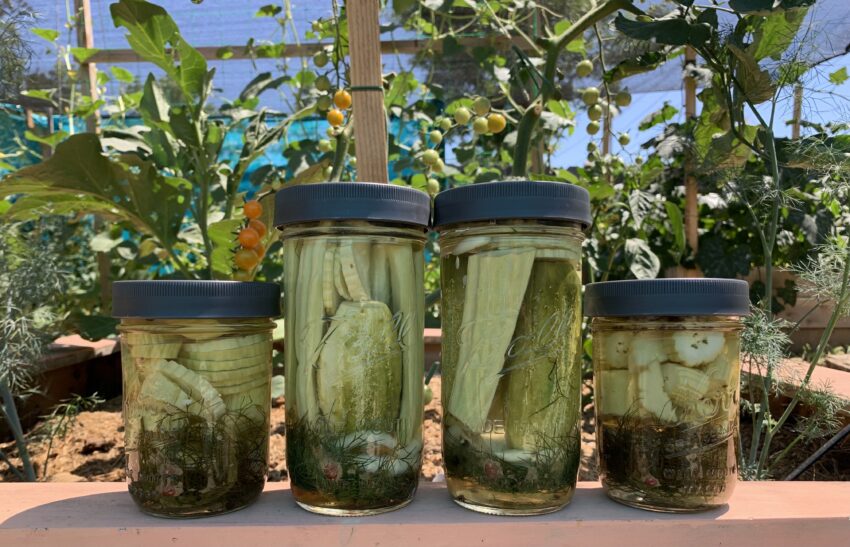
One of my favorite results of a summer garden is the bulk supply of homemade dill pickles that accompanies any decent cucumber harvest. Unfortunately, many of the pickle recipes I attempted in years past relied on hot water processing (boiling the jars of pickles for many minutes) to create a shelf stable product. While this method does result in jars of pickles that don’t require refrigeration, the consequence of cooking cucumbers for 20 minutes or more is a limp, mushy, pickle that effectively disintegrates in one’s mouth.
For this reason, I have abandoned hot water processed pickles in favor of a method requiring refrigeration that always results in firm, crisp, pickles that satisfyingly crunch when bitten into. Here’s how I make them:
Supplies
- Large pot for sterilizing jars and lids
- Smaller pot for making brine
- Canning jars (Mason, Ball, and Kerr all work fine)
- Canning Jar lids (metal or the plastic reusable kind)
- Tongs
Ingredients
- Vinegar (white or apple cider)
- Non chlorinated water
- Pickling salt (or other salt that does not contain iodine or anti-caking agents)
- Bay leaves
- Fresh dill fronds
- Dill seed
- Whole peppercorns
- Sliced onion
- Whole peeled garlic cloves
Procedure
1. Sterilize the jars and lids
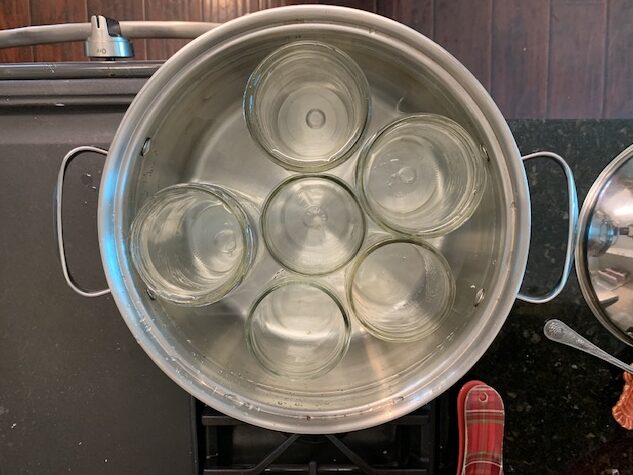
Sterilize the jars and lids by boiling for at least 10 minutes in the large pot. Even though these pickles will live in the fridge until consumed, starting with sterile jars will lengthen shelf life. If using reusable plastic jar lids, do not boil them for an extended period of time as they will become soft and malleable. I find a brief soak in the hot water after the heat is cut is sufficient.
2. Make the brine
Make the pickle brine by combining 1 cup of water, 1 cup of vinegar, and 1.5 tablespoons of salt in a pot. Bring to a boil until the salt is dissolved. Reduce heat to low and cover. The ratio of water to vinegar to salt can be scaled up or down depending on how many cucumbers you have to pickle.
3. Prep the veggies
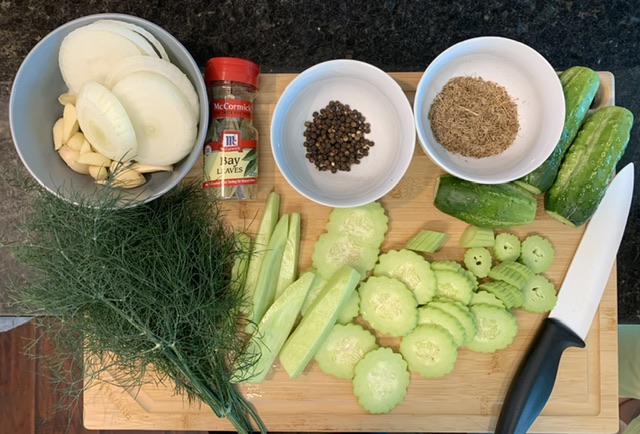
Peel and slice your onions, peel the garlic cloves, wash the fresh dill, wash and cut the cucumbers into the desired configuration (slices, chunks, spears, etc.). Small cucumbers can be pickled whole but the stem end and blossom end should still be sliced off. Conventional wisdom is stem and blossom ends allegedly contain enzymes that can soften the pickles.
4. Pack the jars
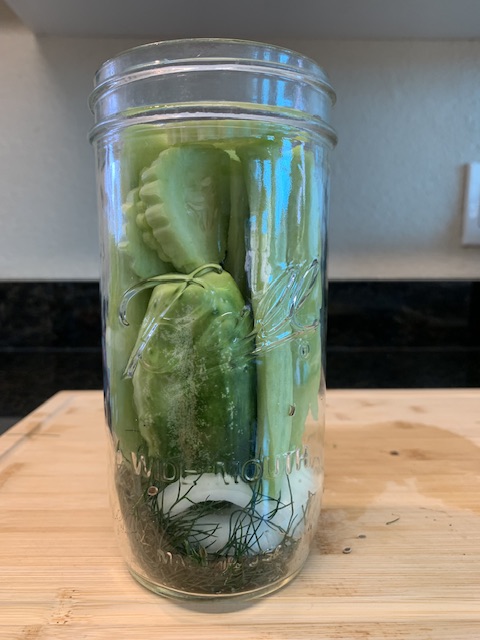
Carefully remove the jars from the hot water and pack them with the seasonings, dill, garlic, onions, and cucumbers. Technically, the only required ingredients are the cucumbers and dill, but the addition of extras makes for a zestier flavor profile.
5. Fill the jars
Using a measuring cup or other vessel with a pour spout, add the hot brine to the packed jars, leaving about a half inch of headspace at the top. Tap the jars with a wooden or rubber spoon to eliminate any air pockets and then screw on the lids. Lids need to be affixed tightly, but there’s no need to torque them on with all your strength.
6. Refrigerate
Once the jars have cooled to room temperature, move them to the fridge where they will stay until eaten. Thin sliced pickles will be ready in a week or two while whole pickles may need to steep in the brine for a month or more.
Notes
With the exception of the brine ingredients, all ingredients are optional and quantities will depend on personal taste. Experiment and see what you like.
If you have fresh dill but not dill seed (or vice versa) one or the other will work just fine.
This recipe works for other vegetables. I’m a huge fan of dill pickled green beans.
